You can make or ruin your entire makeup look with this ability, so pay attention.
For many years, lipstick has been the most widely used makeup item, and with good reason. Applying lipstick correctly may quickly enhance your appearance, give your makeup a polished appearance, and give you a more put together feeling. It follows that ladies are unable to live without it! “Give a woman the right lipstick, and she can conquer the world,” says a common proverb.
Lipstick isn’t just makeup—it’s a statement. Whether you’re going bold red, subtle nude, or playful pink, the way you apply it can make all the difference. Here’s a no-fuss, pro-level routine that goes beyond the usual “line and fill” advice.
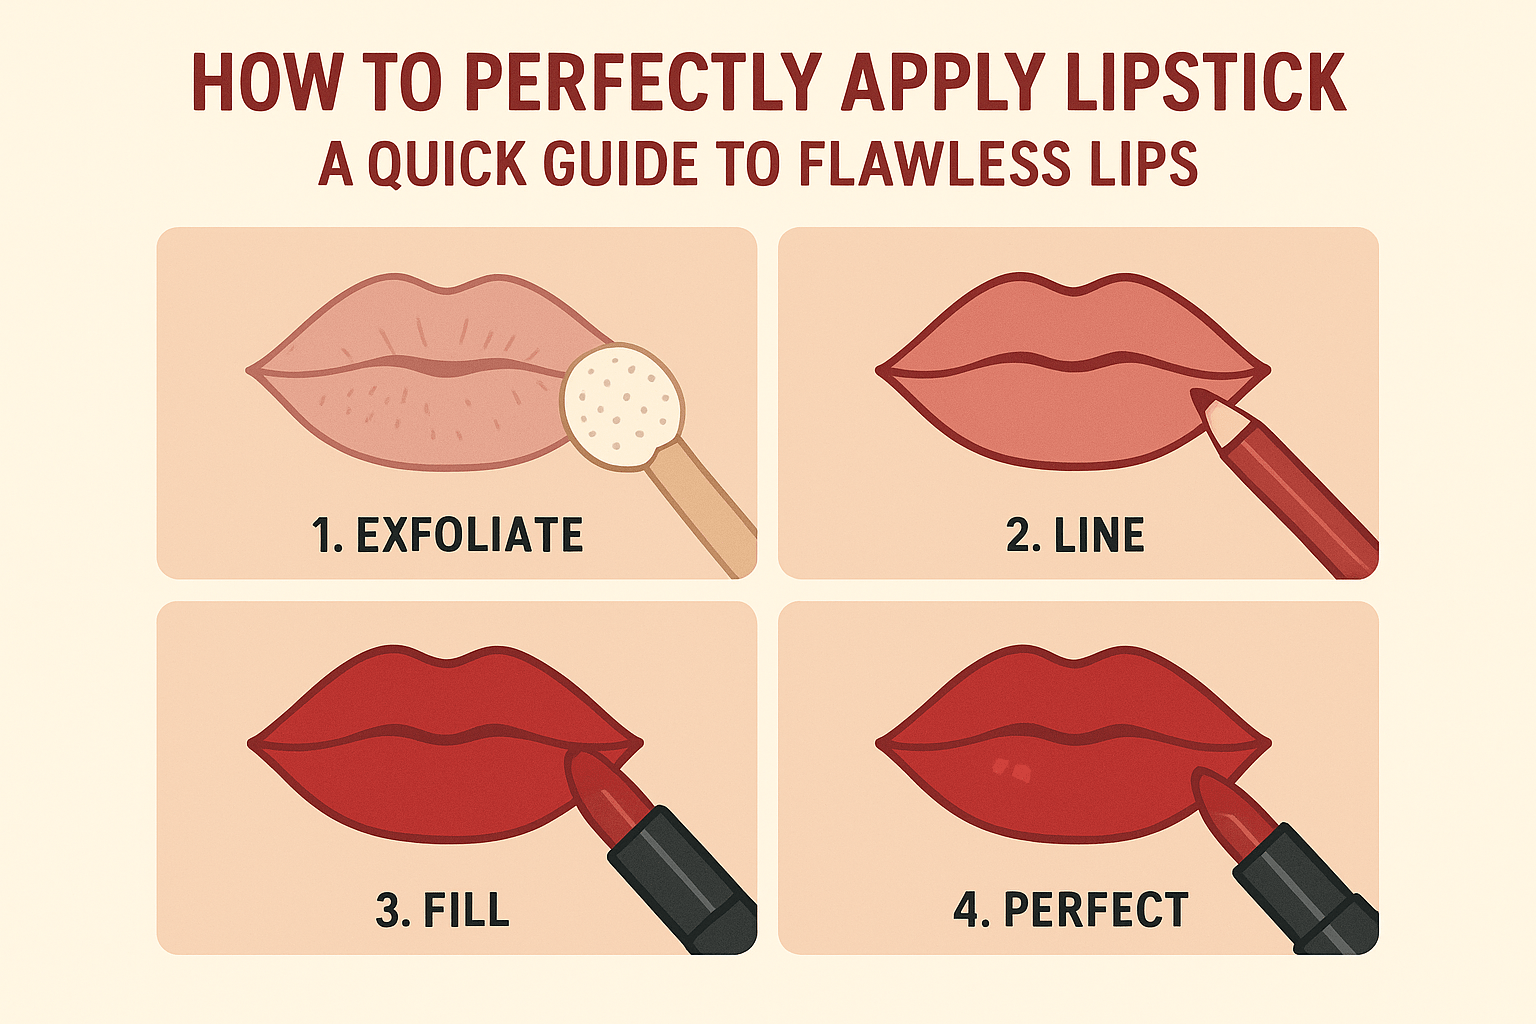
1. Prep Like a Pro ✨
- Exfoliate smartly: Instead of sugar scrubs, try gently brushing your lips with a damp toothbrush. It smooths without over-drying.
- Hydrate, then blot: Apply lip balm, wait a minute, then blot with tissue. This leaves just enough moisture without making lipstick slide.
2. Prime Without a Primer ?
- Dab a tiny bit of concealer or foundation over your lips. This neutralizes natural lip color and makes your shade pop.
- Bonus: It also prevents feathering around the edges.
3. Outline with Intention ?
- Skip the harsh “lip liner border.” Instead, softly sketch just the cupid’s bow and corners—this gives structure without looking overdrawn.
- Blend the liner inward with your fingertip for a seamless transition.
4. Layer, Don’t Cake ?️
- Apply lipstick with a brush for precision.
- Blot with tissue, then reapply a second thin layer. This layering trick makes color last hours longer.
5. The Powder Trick ?
- Place a tissue over your lips and dust translucent powder on top. The powder sets the pigment without dulling the shade.
6. Add Dimension ?
- For fuller-looking lips, dab a touch of highlighter on the cupid’s bow and a lighter shade of lipstick in the center of your lips. Instant 3D effect.
7. Lock It In ?
- Finish with a setting spray misted lightly over your face. Yes, it works for lips too!
Why Lipstick Application Matters
Lipstick is more than makeup—it’s confidence in a tube. But even the most luxurious shade can fall flat if applied poorly. Smudges, cracks, or uneven lines can ruin the look. The good news? With the right technique, you can achieve a professional finish at home in just a few minutes.
Step 1: Prep Your Canvas ✨
- Exfoliate gently: Use a damp toothbrush or a lip scrub to remove dead skin.
- Hydrate smartly: Apply balm, wait a minute, then blot. This keeps lips soft without making lipstick slip.
Step 2: Create a Base ?
- Apply a thin layer of concealer or foundation over your lips.
- This neutralizes natural lip color and helps your lipstick shade stay true.
Step 3: Define the Shape ?
- Use a lip liner close to your lipstick shade.
- Focus on the cupid’s bow and corners for structure.
- Blend inward with your fingertip for a natural transition.
Step 4: Apply with Precision ?️
- Use a lip brush for accuracy, especially with bold shades.
- Apply one thin layer, blot with tissue, then reapply.
- This layering technique ensures long-lasting wear.
Step 5: Lock It In ?
- Place a tissue over your lips and dust translucent powder on top.
- This sets the pigment without dulling the color.
Step 6: Add Dimension ?
- Dab a lighter shade or gloss in the center of your lips for a fuller look.
- Highlight the cupid’s bow with a touch of highlighter for extra definition.
Quick Pro Tips ?
- Avoid rubbing lips together—it breaks the smooth finish.
- For bold colors, keep the rest of your makeup minimal.
- Always carry a lip brush for quick touch-ups.
Final Thoughts
Perfect lipstick application isn’t about perfection—it’s about technique. With these steps, your lipstick will look polished, last longer, and feel effortless. Whether you’re heading to work, a date, or a night out, your lips will always be ready to make a statement.